Station moved to Mount Shasta, CA

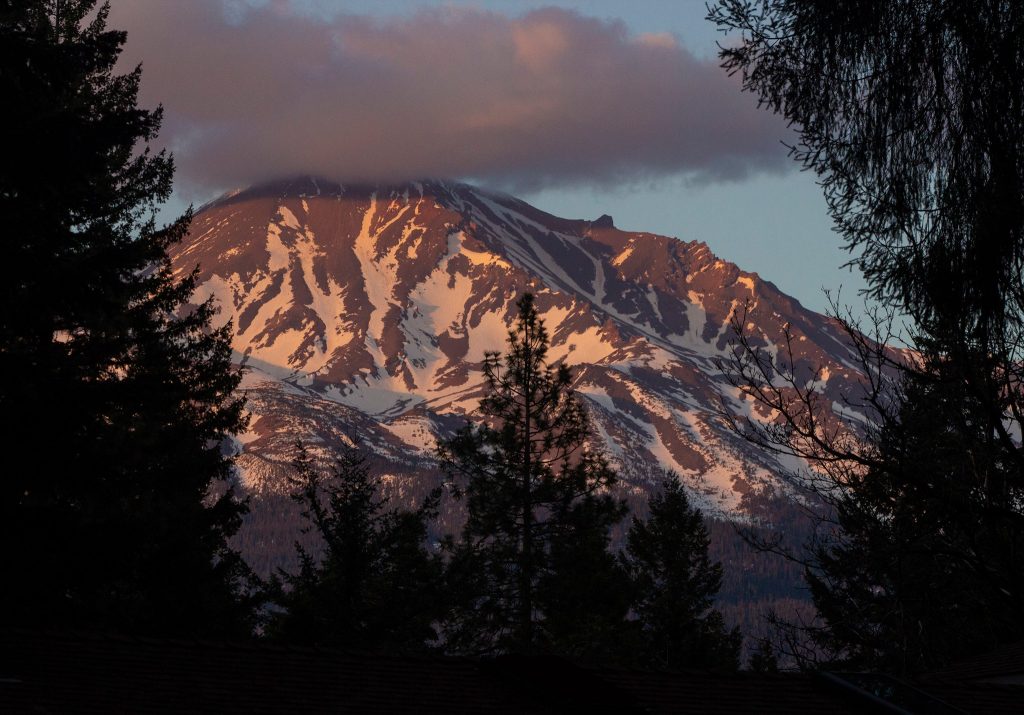
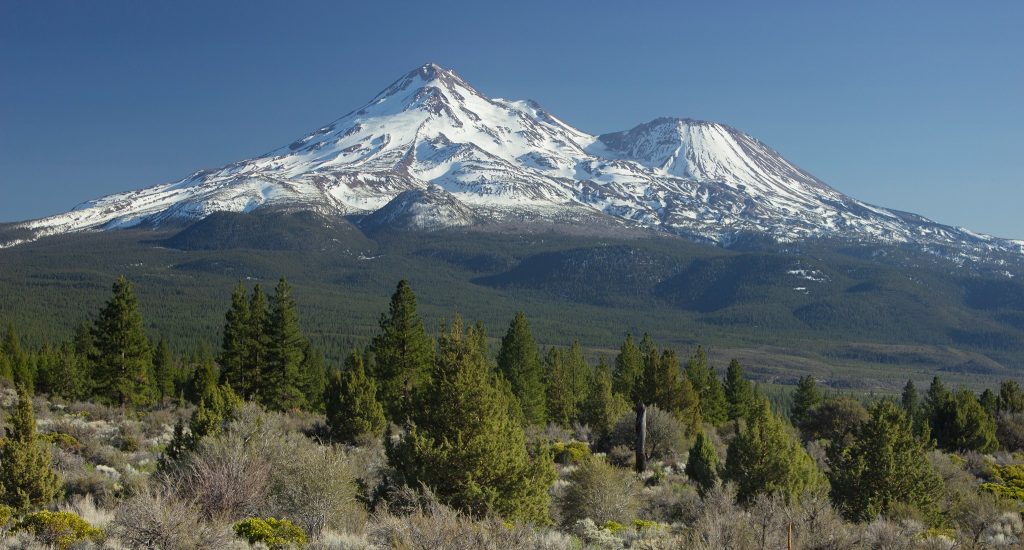
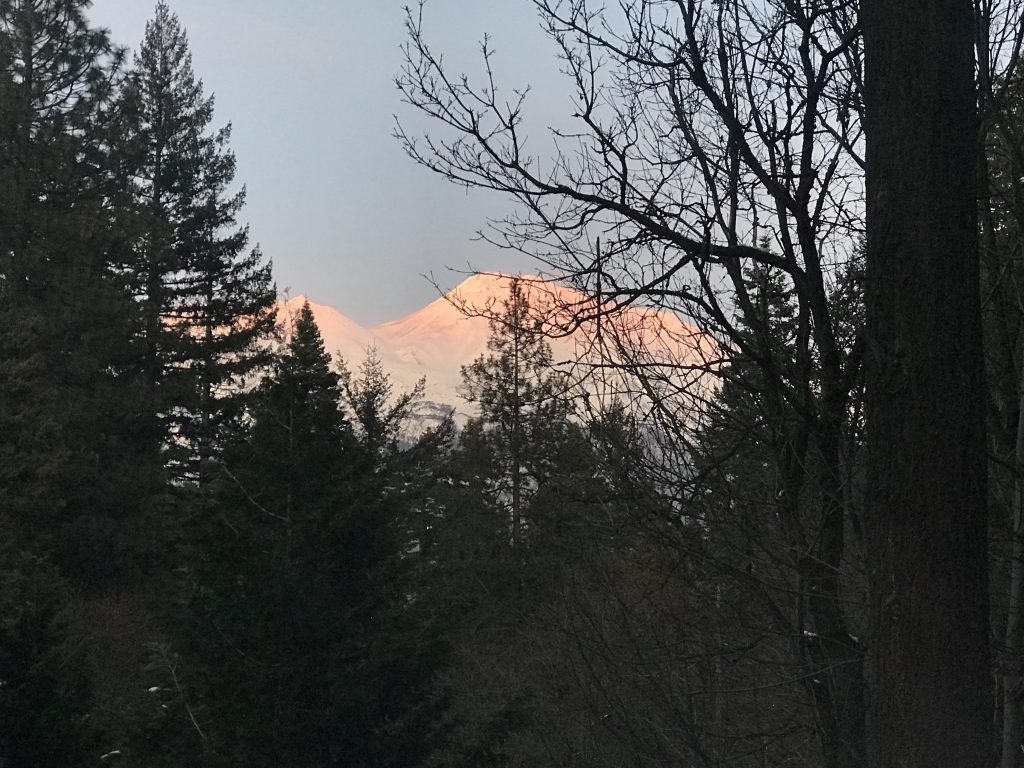
Now that we are nearly Empty Nesters, it really didn’t make sense to stay in a place where my kids couldn’t afford to work and live. So we are closer to the in-laws (Redding, CA) and one of the cities my son may end up (Medford, OR). In fact we’re right in between – and in one of the most beautiful places in California!

The station is now at 3,700 feet and looks down into the Central Valley and up into Yreka, CA. Eventually I hope to extend the 223.6 packet backbone to Medford and Grants Pass… more on that later.

Fire Season in Sonoma County

Here are a few photos of my portable station (with the KK6HQT trailer in the background) when we set up a secondary Sonoma Op Area EOC above Sonoma Raceway during the Kincade fires.

12V Monitor with a Raspberry Pi velcro’d to the back. Just plug in one Anderson Powerpole and you have a full-blown computer with Winlink, FLDigi, WSJTX, JS8CALL CQRLog and BPQ with VHF and HF node stack.
Solar power is over as the sun goes down… that’s why we have big batteries! Actually 3 days and nights worth! If the sun is shining we can operate indefinitely.

My Blatherings About the Hobby

My Dad (K6MLF) got me into this hobby – as a 40-something guy, it’s a fun hobby!

My Ham-Shack is on full-time emergency power. It is run by solar-charged battery power – 240 AH.

For HF, I have a barefoot Icom IC-7200, an IC-7000 and my trusty Kenwood TS-850S and some home-spun antennas (a 40M dipole, a 75M inverted vee and other dipoles ready to deploy in the field). For the Kenwood, I have a pan adapter (LP-PAN2) and use NaP3 as an SDR with panafall display, etc. The IC-7200 is a remote control rig as well and does well with HDSDR. Fldigi and RMS Express work really well with this rig too. The RMS sysop software needed a little fine tuning, but I got it sorted out after a few days of having stations connect.

On solar powered batteries, I have logged SSB contacts from 115 cconfirmed countries so far.

I like building antennas… have constructed several dipoles, wound/soldered my own 1:1 and 4:1 current baluns, and constructed a 3-El 2M Yagi using welding rod and a wooden dowel. I like that antenna so much I made another one for KB6HOH to play with. so far he reports good performance with it.

Here’s my home station:

and a little closer…

Using an SDRPlay (sitting on top of the IC-7300), I have the capability to remotely monitor bands using SDRSharp – so even when I’m away from my HF rigs I can be aware of band conditions if I want.

Here’s my portable ‘shack-in-a-box’

I have dual band mobile rigs in my car and motorcycle and I volunteer as a moto-marshal for local events in the hills of Sonoma and West Marin where cell phone coverage is poor. Our 2M repeaters tend to be better than the state troopers radio coverage out there, so we help out a lot during bicycle races, marathons, etc. My home 2M base station is 75W with a Diamond x200 and the 3 el yagi – so I can reach most of Northern California from Monterey and Fresno to Ukiah and Chico.

6/4/14 – Right now I am learning about Packet Radio, Digipeaters, etc., with a Kantronics TNC I recently set up. I have Winlink capability on HF, VHF and through packet node scripts. Check out my ETAND node (via SMRSND or K6ACS) and leave a message on my BBS!

These skills and technologies may come in handy if we ever have a regional disaster – if one comes, I hope to be able to help!  My dad and my sister (KI6TDG who is about 180 miles distant) are in contact every Tuesday – and thanks to this hobby, we know we will be able to continue that in almost any scenario.

My Station

Top: Where I can be found if standing on the summit of Mt Tamalpais. Under that: Field Day 2016 –
2BSF Station on Mt Vision, Point Reyes National Seashore

Above: My current ‘station on wheels’.   Due to kids and life, my “shack”
currently resides between my motorcycle and my tool box. Actually I’ve
added an IC-7300 since this photo.

Here’s my previous station, built around the TS-850S my Dad lent me to get started. The TS-850S is now back in in my
Dad’s shack and has been replaced with an Icom 756 Pro II rig.

My Ham-Shack is on full-time emergency power. It is run by solar-charged battery power – 240 AH.

For HF, I have a barefoot Icom IC-7200, an IC-7000 and my trusty Kenwood TS-850S and some home-spun antennas (a 40M dipole, a 75M inverted vee and other dipoles ready to deploy in the field). For the Kenwood, I have a pan adapter (LP-PAN2) and use NaP3 as an SDR with panafall display, etc. The IC-7200 is a remote control rig as well and does well with HDSDR. Fldigi and RMS Express work really well with this rig too. The RMS sysop software needed a little fine tuning, but I got it sorted out after a few days of having stations connect.

On solar powered batteries, I have logged SSB contacts from 118 confirmed countries so far.

Adding COM Ports manually in Wine

If COM33 (the default for USB/Serial cables and radios with internal USB/Serial) doesn’t work for you, we will need a COM1 port for rig control or TNC access.

First we need to find out what our USB/Serial controller cable is named. Install the driver for your cable. Plug the cable in and bring up a terminal (Terminal app can be found in Applications/Utilities).

ls /dev

This command lists the contents of the “dev” directory. Scroll up and look for the name of the USB cable. Some common names are:

tty.SLAB_USBtoUART

tty.usbeserial

tty.ftdi_usbserial

cu.usbserial

It WILL start with either tty or cu …so if you can’t find them in the long list, try the command:

ls /dev/cu*  or   ls /dev/tty*

Highlight the name and copy it (we will paste it in the next step)

Next check which version of Crossover for Mac you have. Only follow the directions below (A or B) that pertain to your version!

A] For Crossover 17 and newer: Latest versions of Crossover (Wine) use a different COM Port scheme. The old method won’t work and our COM Port will get erased on every restart – so this is the new method.

Go into the Crossover window, select your bottle on the left and pull down the “Bottle” drop-down menu from the top of the screen. Select “Run Command…”

In the window that pops up, type regedit and hit the RETURN key. A Windows Registry Editor screen will open. Clicking the + icons, open up HKEY_LOCAL_MACHINE and SOFTWARE and WINE folders. Highlight the “Wine” folder and pull down that window’s “Edit” menu. Select NEW>KEY

This should create a new folder in the directory structure under “Wine”. Rename it “Ports” without the quotation marks. Now Highlight “Ports” and pull down EDIT>NEW>STRING VALUE. This one will have the name of COM1 and the value of the path we found to your USB Cable.

So Name will say COM1 and Value Data will be /dev/[pasted name]

Just to be clear, paste in the name of the device we copied above and don’t leave the brackets – replace the whole bold part above. Click OK and go back to the pulldown menu and select REGISTRY>EXIT.

B] For Crossover 16 and earlier: This command will make a symlink (aka, an alias or shortcut) for COM1 in the dosdevices folder, which points to the USB device – usually ttyUSB0 on linux, for Mac see below:

Copy the name and paste below and use your user login name and bottle name in the bolded text (replacing the brackets):

ln -s /dev/[pasted name] /Users/[user name]/Library/Application\ Support/CrossOver/Bottles/[bottle name]/dosdevices/com1

Just to be clear, the entire bold part of the line above including the brackets will become the name you copied, and there will be a space between the last letter of the name you paste and “/Users/[user name]/Library/Application\ Support/CrossOver/Bottles/[bottle name]/dosdevices/com1” Once you hit the ENTER or RETURN key, that should link the device to the new virtual COM port.

Now add the COM port to the windows registry (this will make it appear in pull-down menus in RMS Express and other Windows programs running in that bottle).

sudo nano /Users/[user name]/Library/Application\ Support/CrossOver/Bottles/[bottle name]/system.reg

After “#arch-win32”, add the following lines (using the arrows keys to place the cursor where you want to copy/paste this) , save and exit.

[Hardware\Devicemap\Serialcomm] 1131331688

“COM1″=”COM1”

NOTE: If you need more than one COM port for different control cables, just repeat the process with COM2, COM3, etc.

To save these changes, hit the CONTROL and X keys, then tap Y and then tap ENTER.